This post reviews the process of setting up a Scheduled Cloud Flow to pull data from the cloud to a local SQL Server using an HTTP request. The pulled data comes in the form of a JSON file and will need to be parsed in order to be received by SQL Server.
You will also need to setup a Data Gateway to securely connect to the data host which is detailed here: Setting Up a Data Gateway in Power Automate.
Click on the link below to see the YouTube video of this post:
In this example, I’m using a Scheduled Cloud Flow to pull stock market data from IEX Cloud. Any of the flow types will work with the HTTP request.
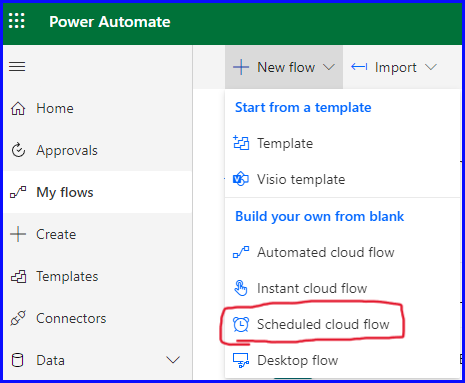
Start by selecting a New Flow and then Schedule Cloud Flow as shown below:
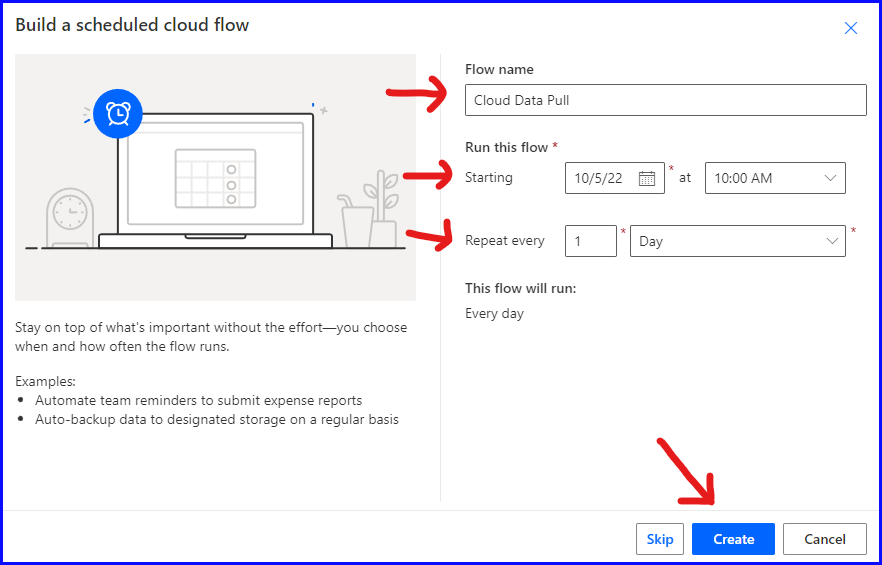
Next give your flow a name, when to start running the flow, and the frequency it should be triggered to run. Then click “Create”. No need to spend too much time selecting this info as you will be able to update it in the next step.
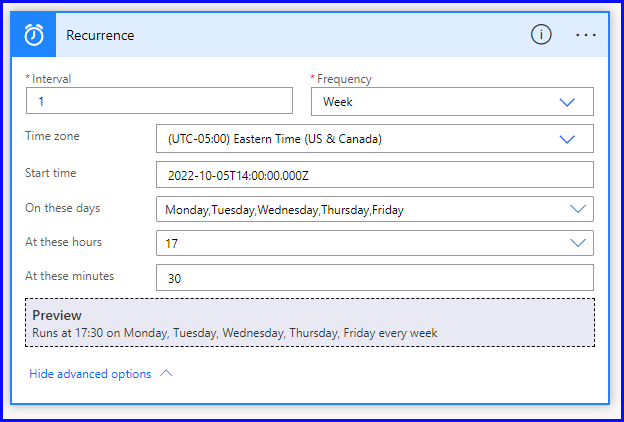
The Recurrence flow is automatically added and is the first to update. These options will change based on the frequency selected. For this example, I have it run weekly, 5 days of the week at 5:30pm EST.
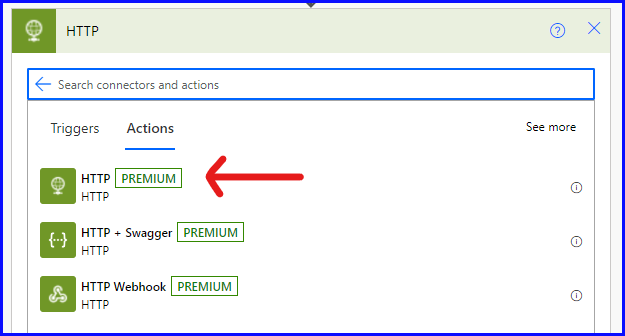
Next select the HTTP request flow. This is a premium flow that’s part of the Power Automate Per User Plan. For testing purposes there is a trial offering to use free for 90 days.
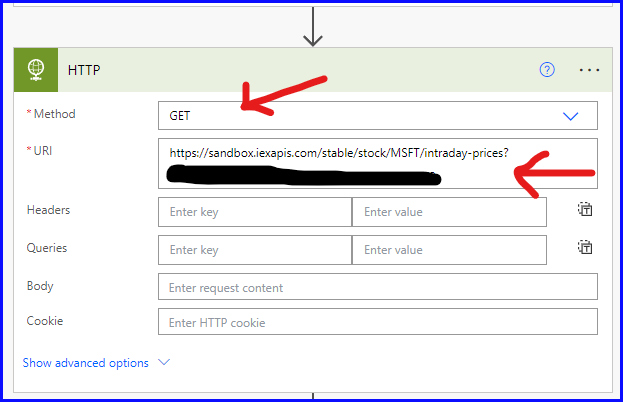
Setup the HTTP request action by selecting GET as the Method and enter the URL of the dataset.
Next select the Parse JSON flow. This function will analyze a valid JSON string and return an untyped object representing the JSON structure. Follow the steps in order below:
- Content: select Dynamic Content and the Body of the HTTP request
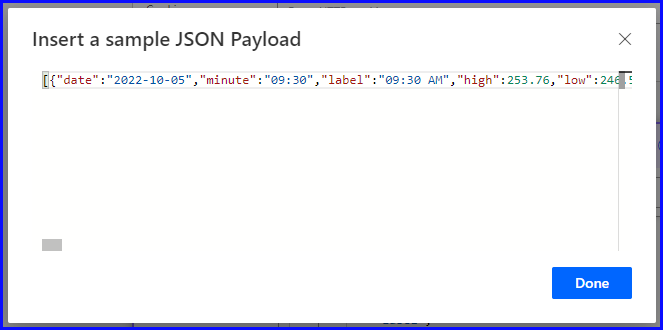
- Generate from Sample: Press the Generate from Sample button and paste in the JSON data, see next two paragraphs for more details.
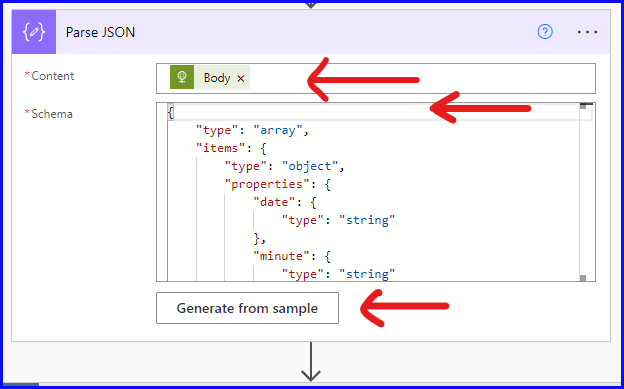
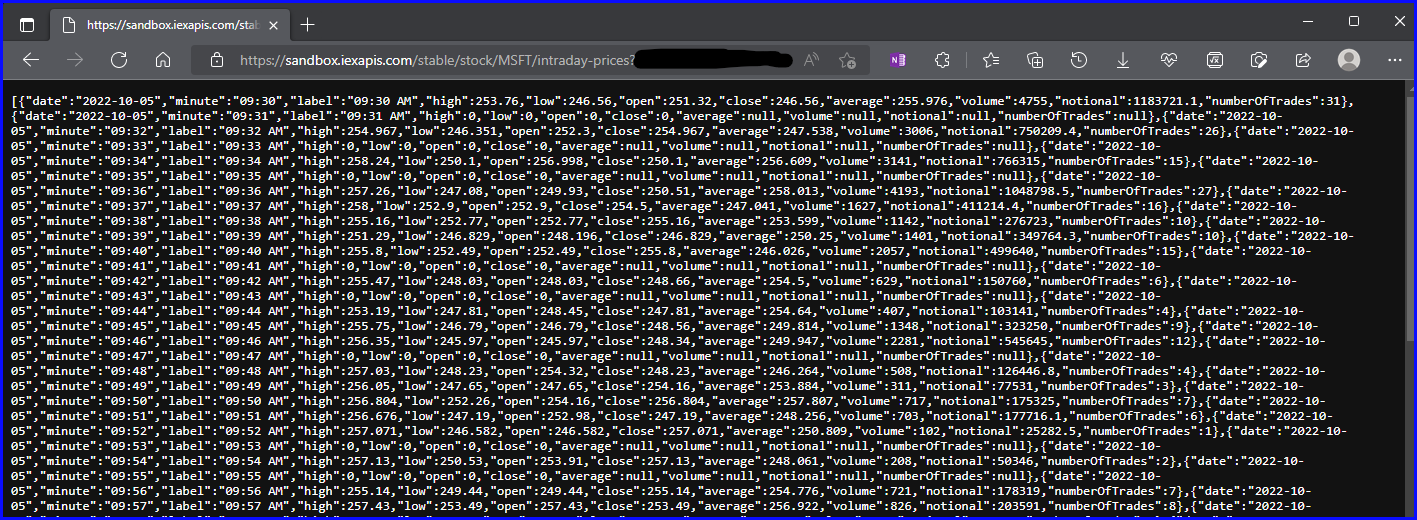
Open your web browser and paste the URL that was used in the HTTP request. Copy all or a subset of the Json dataset from the web address, click on the Generate from Sample button and paste in the content. If you paste a subset of the data, make sure to include a full record.
After pasting in the sample JSON payload, select “Done” to generate the schema.
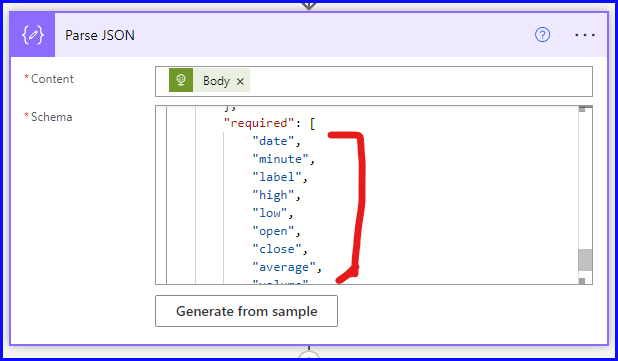
Scroll down to the very bottom of the schema to see the list of required fields.
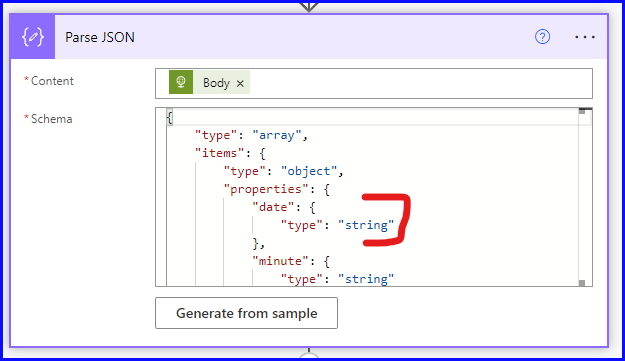
Then scroll back up to see the field types.
Below is a screenshot of comparing a record of data from the JSON payload against the JSON Schema. This will aid in creating the SQL table.
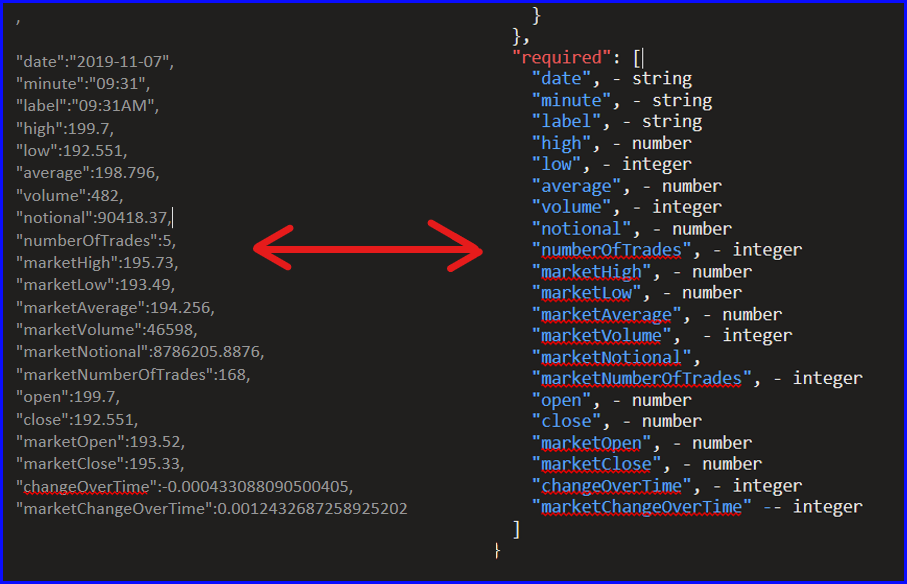
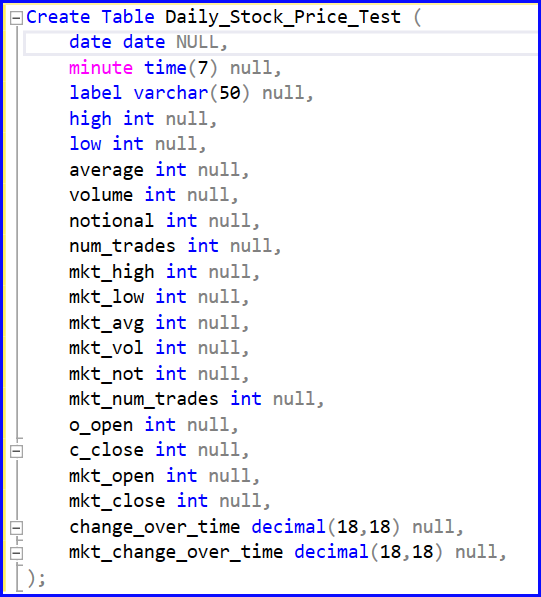
Open your SQL Editor of choice and use the SQL CREATE TABLE statement to build your table using the fields and data types from the JSON schema. Below is the statement I used to create my table.
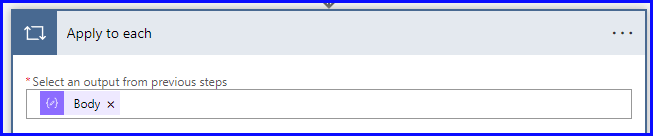
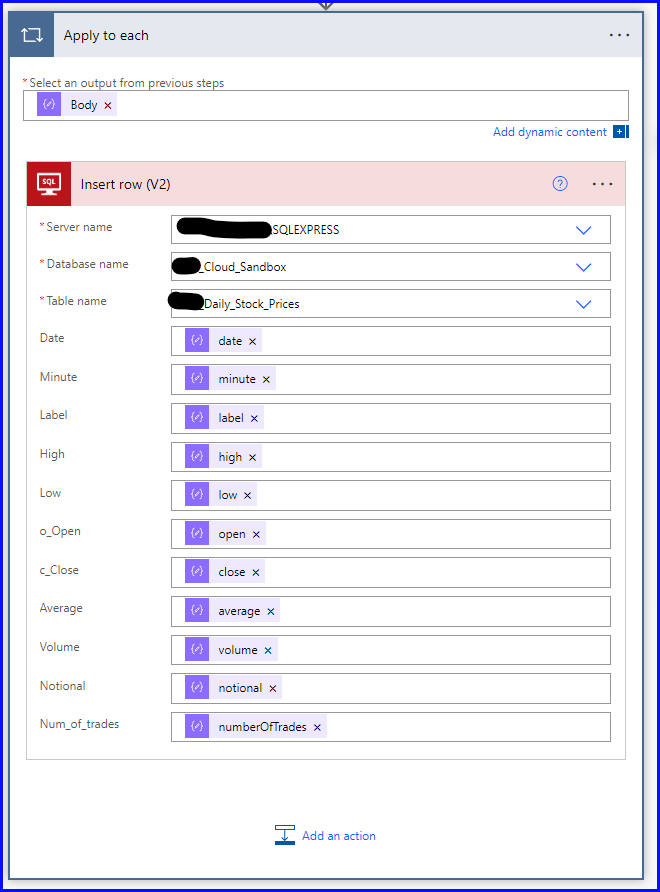
Back to Power Automate, the last step is to add Apply to Each Row to the flow. Select Dynamic Content and the Body of the Parse JSON function, then Add an Action.
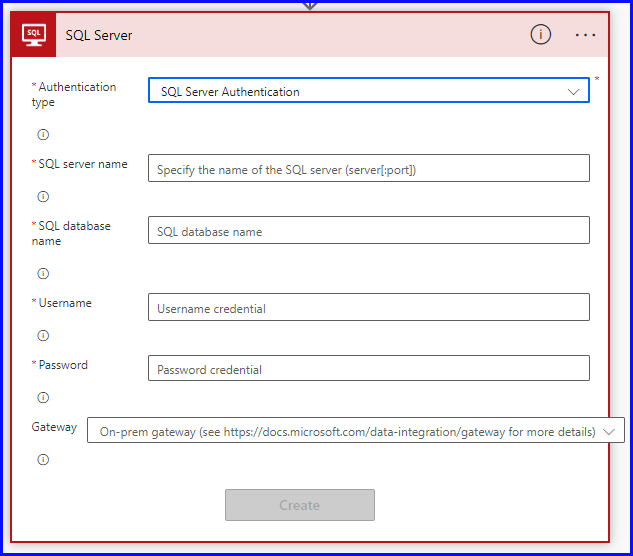
Search for and select Insert Row (Latest Version) (Premium) SQL Server. Choose your Authentication Type and fill in the required information to setup your connection. Select the Data Gateway you created as part of the first action taken in this post.
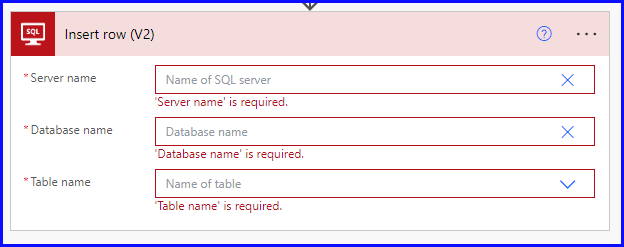
Once connected you will need to re-enter the Server Name, Database Name and select the Table from the list of tables in your database. Then the form will expand and lists all the fields from the table you selected.
Next you will need to manually add the Apply to Each formula for each field in the table.
The formula is: items[‘Apply_to_each’][‘field name’]
Formula examples based on my fields below:
- items[‘Apply_to_each’][‘Date’]
- items[‘Apply_to_each’][‘Minute’]
- items[‘Apply_to_each’][‘Label’]
Now when the scheduled flow runs it will get the cloud data, parse the JSON file into a format that SQL Server can understand, and append the data to the desired SQL table.